Making a Lego Table
2015-12-06
The second Sunday of Advent has arrived, and this time of year is the same as the day of Santa's arrival. This time of year brings with it a lot of special moments and brings real magic into the everyday life of our children, whether we are thinking about Advent calendars, making Christmas tree decorations together or even family baking …
Let me show you what a surprise we were preparing, of course, on behalf of Santa … 
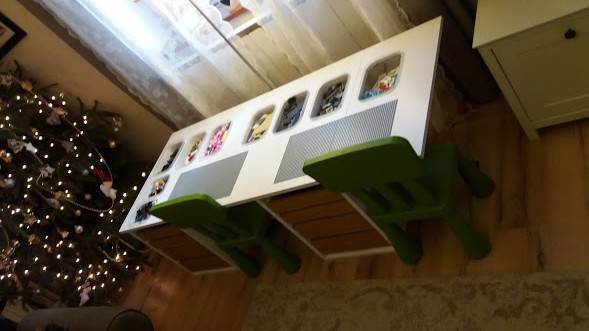
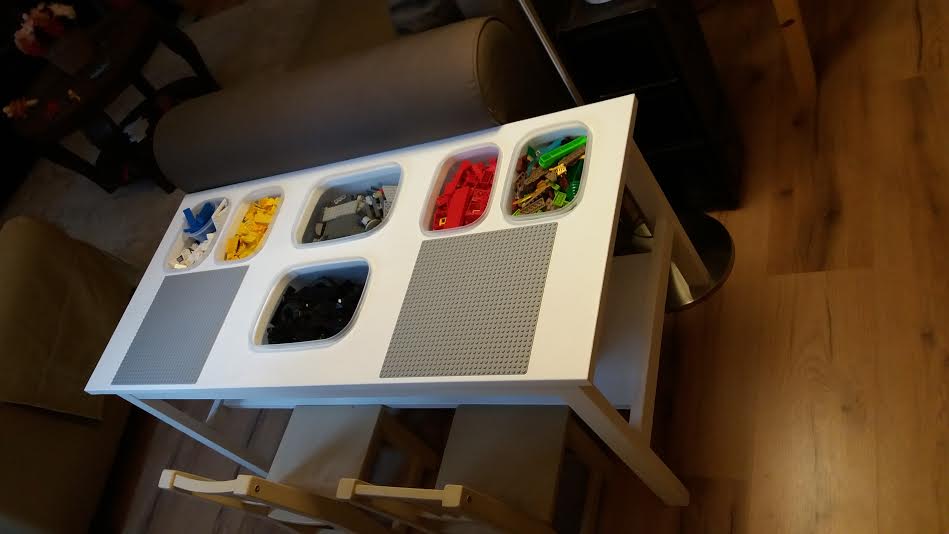
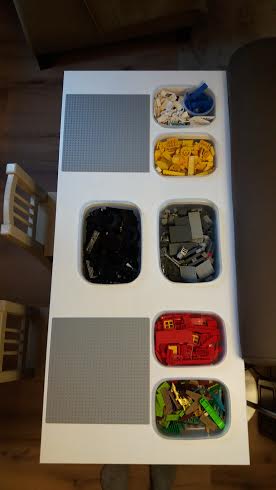
We made a special lego table!
I don't know who has it exactly, but the most popular pastime of our children is the most popular one! They build the super creations for hours and thus, of course, the living room is constantly dominated by tiny, prickly little cubes. Practically everything is covered by these little plastic toys, we constantly step on the sharpest ones, and under the furniture disappear the most special ones, despite constantly trying to preserve the remains of order; because you can't even sit on the couch …
That's how the idea was born, we're going to need a lego table! After a few days, the idea became a reality in the following way:
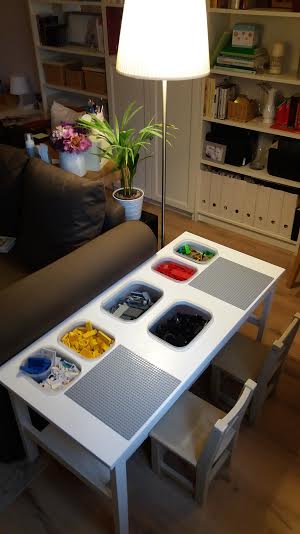
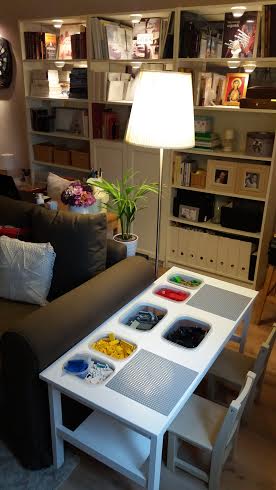
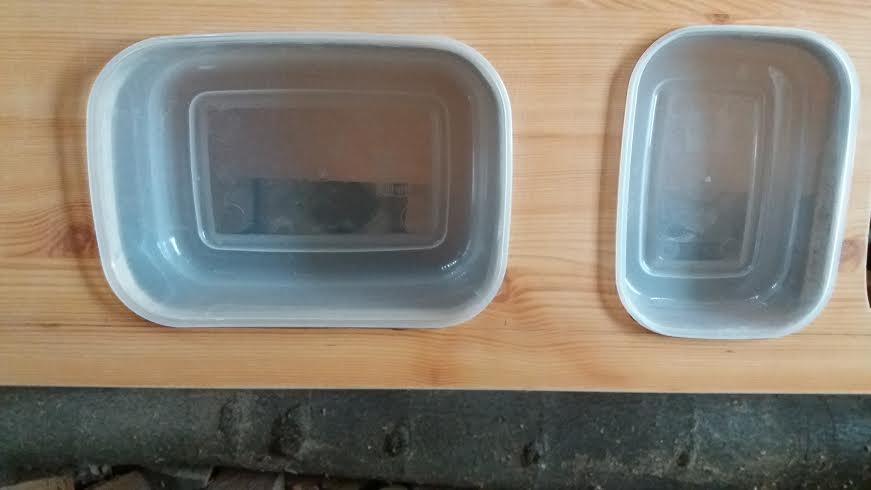
We got pennies, used a dismantled coffee table, the vase of which was made of wood, the sheet of which was made of furniture. We bought a very worn-out piece so we wouldn't regret breaking it up. In our case, this is a 110cm long and 55cm deep piece of furniture … I chose smaller and larger plastic bowls with lids, which have a small edge. I figured out how they would fit in symmetrically arranged and I marked their future location considering the space requirements of the beaker of the table! I drew shapes 3-3 mm smaller than the size of the pots, and my Husband took over the DIY work from here! He cut out the bowls with a decorator saw, and I then sanded the edges of the holes along with the rest of the table. After that, the painting was just backwards. I chose two-in-one silk enamel paints, (of course everyone should work with a covering material that suits their needs) I chose them because they cover perfectly, they do not evaporate toxic substances, they are very cheap and they are available in a lot of colors. I painted the furniture in 3 layers and the table top in 4 because of the higher stress … The layers can be repainted in 12 hours at 20 degrees, so thanks to the quick drying, all we had to do was glue the lego motherboards. For this step, I would recommend a strong universal glue or carving glue. We tuned the new furniture to the colors of the living room furnishings, so it became white. During the placement, I took into account that the mess on it should not be immediately visible when someone enters the room, and that it should definitely be illuminated, and that children should not have to sit with their backs to the room, because then they will never really use it!
It worked right away! Ever since Santa got here with him, they haven't even gotten up and we've got our living room back! It is a huge success for us, a huge pleasure for them and even practical, because it is much easier to pack and keep order!
If you have a lot of kids, I highly recommend this idea.
(For more details, please feel free to contact us!)
Tip 1: Since the boxes have lids, the pots can be closed at any time!


Related posts