Stylish and unique table with their own hands!
2015-01-06
I'm showing you something really special that may seem difficult at first, but believe me, it's worth it. I'm sure the end result will be pleasing and eye-catching, but if you feel insecure, start with the garden table.
We make a durable, stylish and extremely unique concrete table!
First step: We buy the MDF plate corresponding to the size of our future table top, as well as the side slats for the beaker.

MDF for table top
Second step: Fasten the slats to the edge of the MDF plate with a simple carving glue to form a frame for the concrete. Then finalize the position of the slats with screws on both sides and at the top, just make sure that the external surfaces remain smooth, because later on the edge of the concrete will be damaged by a protruding screw.

Carving is mandatory!

Angle the edges to the roof
Third step: Gather your courage and put on your gloves, it's time to break down the concrete sack. (Today we get it ready in any DIY store and fireplace, in packs of 25 kg and we just have to mix it with water)
Step four: Now comes the smear. Fast work is necessary, because fast knitting of concrete. (It is worth doing one or two practice strokes on another surface beforehand, if you are a beginner ….) With a plaster spoon, first smooth a thin layer over the entire surface, including the edges, and then wait patiently until it binds a little – this can be 20-35 minutes, depending on the dilution! It is practical to shake the frame a little before it is completely tied (a few hours), so you will definitely get the material to every corner.

Design of the new interface

Smooth corners and sides
Fifth step: We can color! If we want to paint the surface of the concrete, we can color it with spray paint, if we want to achieve an even more special effect. (Be sure to choose a waterproof paint!)
Step 6: Let's fasten the legs.

Fastening of the legs with screws
Step 7: Enjoy our new table.

Modern DIY coffee table


We can paint the legs.

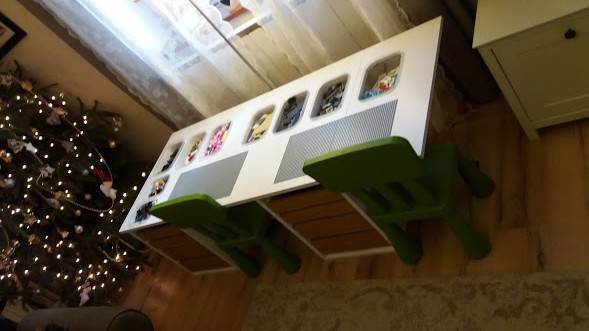
Concrete dining table

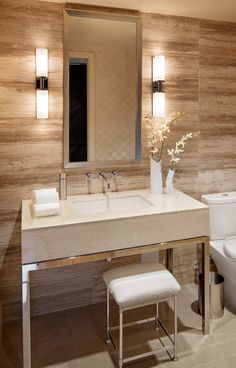
Wash-basin counter

Related posts